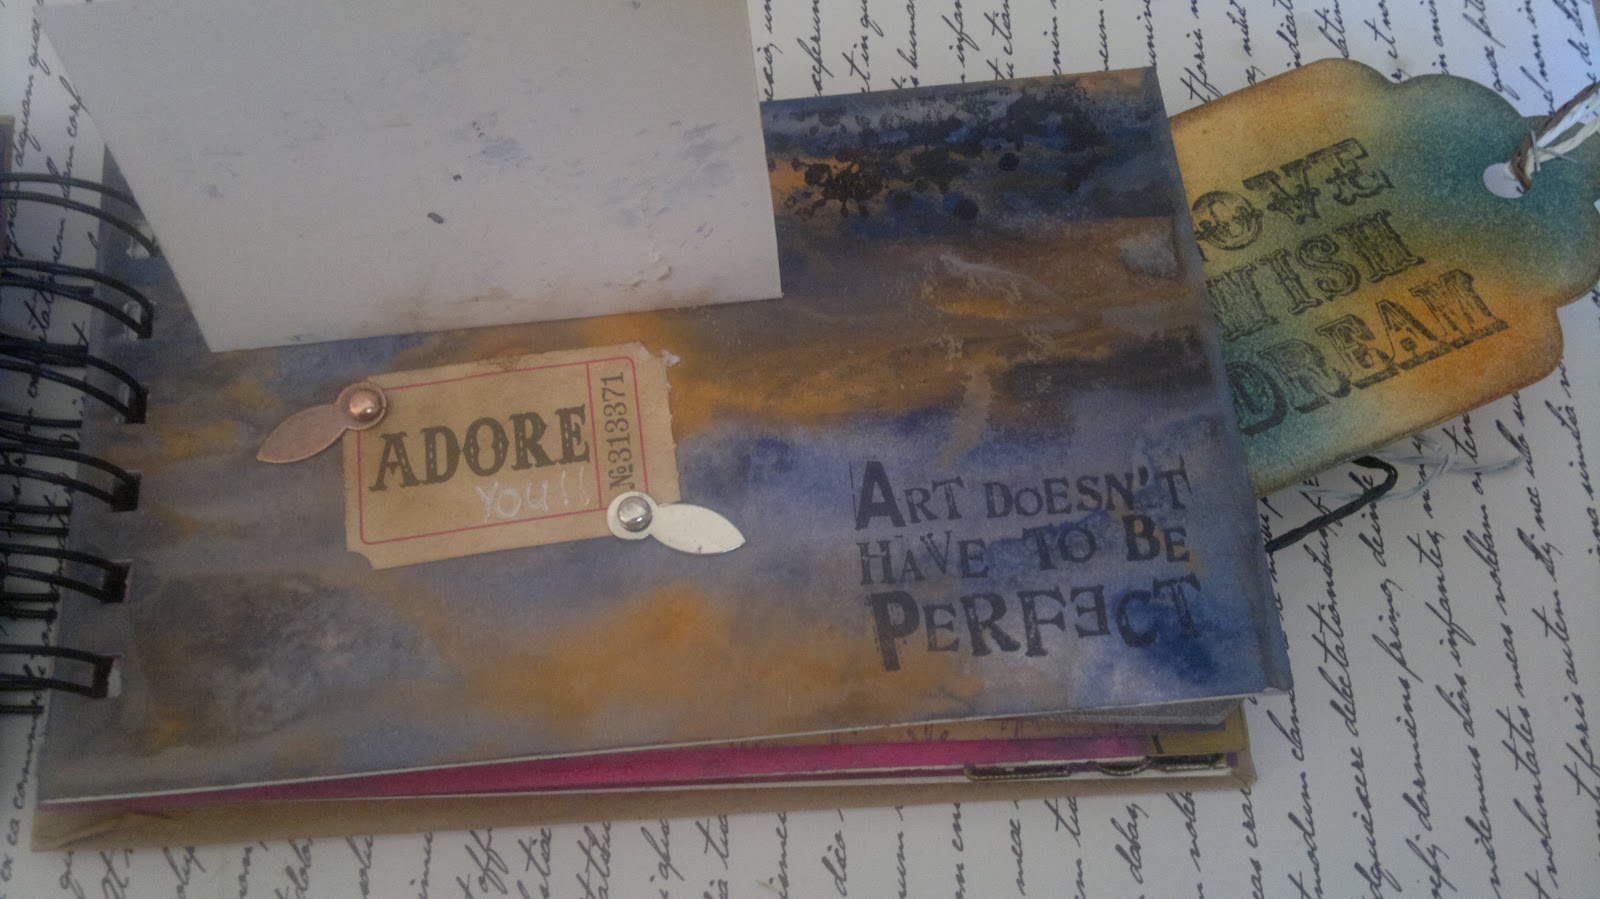
As soon as I saw Tim's May tag I could not wait to have a go of it myself!!
Here is my take on Tim's May tag
As with the others, I decided to create a card so that I can use it throughout the year.
You can see the techniques that Tim used here.
I loved, loved, loved using the remnant subs - so much fun to use.
I am also totally in love with the Paper Artsy image which is from the latest Lynne Perrella range.
Hope you like my version of Tim's tag. Thanks for looking....
Friday, 17 May 2013
Wednesday, 15 May 2013
Diamonds & Pearls
This creation was initially destined as my submission for Sunday Stamper on 5th May but I totally lost track of time!!
I was having a creative block over the bank holiday weekend and could not get myself motivated. A dear friend of mine (you know who you are!!) set me a challenge as follows...
"tag...something with diamonds and... the technique you need to use is.... Distress Paints... water mixing onto craft sheet and dipping. Colours: broken china + 2 others. Blend DI over the top THRU a stencil... add 490 sentiment and flowers... and tie a bow in the top of the tag... add some Idea-ology and a smidge of Rock Candy Cracklepaint"
So - here is my creation and what I did:
I used picked raspberry, broken china and wild honey distress paints. These were pressed to a craft mat and sprayed with water.
The tag was then swooshed, misted again and dried.
I stamped the Tim Holtz harlequin stamp onto the background in archival ink then highlighted bits with a chinagraph pencil.
I used a stencil to add distress ink in various places and edged the tag in walnut stain.
Next I took a Wendy Vecchi flower stencil. I coloured some Grunge Paste with picked raspberry paint then covered the stencil to create the flowers. I added a smidge of distress glitter to give them a distressed, but sparkly look. Once dry I added a pearl to the centre of the flowers.
I stamped a Wendy Vecchi quote in archival ink.
To finish I added smidge of crackle paint on different parts of the tag.
So.... this certainly re-started my creativity. Really enjoyed this tag & am LOVING distress paints!!
Thanks for looking...
I was having a creative block over the bank holiday weekend and could not get myself motivated. A dear friend of mine (you know who you are!!) set me a challenge as follows...
"tag...something with diamonds and... the technique you need to use is.... Distress Paints... water mixing onto craft sheet and dipping. Colours: broken china + 2 others. Blend DI over the top THRU a stencil... add 490 sentiment and flowers... and tie a bow in the top of the tag... add some Idea-ology and a smidge of Rock Candy Cracklepaint"
So - here is my creation and what I did:
I used picked raspberry, broken china and wild honey distress paints. These were pressed to a craft mat and sprayed with water.
The tag was then swooshed, misted again and dried.
I stamped the Tim Holtz harlequin stamp onto the background in archival ink then highlighted bits with a chinagraph pencil.
I used a stencil to add distress ink in various places and edged the tag in walnut stain.
Next I took a Wendy Vecchi flower stencil. I coloured some Grunge Paste with picked raspberry paint then covered the stencil to create the flowers. I added a smidge of distress glitter to give them a distressed, but sparkly look. Once dry I added a pearl to the centre of the flowers.
I stamped a Wendy Vecchi quote in archival ink.
To finish I added smidge of crackle paint on different parts of the tag.
So.... this certainly re-started my creativity. Really enjoyed this tag & am LOVING distress paints!!
Thanks for looking...
Sunday, 12 May 2013
Rebel Stampers ATC Swap
It is that time of month again - not really sure what happened to the last one!!
Here are the swaps that I made:
The first is based around the Craft Stamper free stamp for April
This stamp is not the normal stamp that I would choose and so totally took me outside of my comfort zone.
I started by covering an atc with background paper and inking around the edges (I think the paper is from Kaisercraft).
I added a black panel and cut out a red heart.
The image was stamped in archival ink onto pink paper, cut out and layered onto the centre of the atc
The second atc is based around the theme of 'Time & Space'
I covered an atc using spaceship background paper.
The image (Stampin' Up) was stamped, coloured and cut out then layered and decoupaged onto the atc.
To finish I stamped the countdown in back archival ink.
Another fun month - totally outside of my comfort zone for both challenges!!
Thanks for looking....
Here are the swaps that I made:
The first is based around the Craft Stamper free stamp for April
This stamp is not the normal stamp that I would choose and so totally took me outside of my comfort zone.
I started by covering an atc with background paper and inking around the edges (I think the paper is from Kaisercraft).
I added a black panel and cut out a red heart.
The image was stamped in archival ink onto pink paper, cut out and layered onto the centre of the atc
The second atc is based around the theme of 'Time & Space'
I covered an atc using spaceship background paper.
The image (Stampin' Up) was stamped, coloured and cut out then layered and decoupaged onto the atc.
To finish I stamped the countdown in back archival ink.
Another fun month - totally outside of my comfort zone for both challenges!!
Thanks for looking....
Wednesday, 1 May 2013
Paper Artsy #3Up Challenge
I recently took part in a secret Paper Artsy challenge where I was asked to create a project using 3 items that were sent to me. I received a chunky hanging board, 2 Vintaj buttons and a black oval frame.
Here is my creation:
You can see more details Here over at the Paper Artsy blog
Thanks for looking
Here is my creation:
You can see more details Here over at the Paper Artsy blog
Thanks for looking
Saturday, 27 April 2013
Happy Birthday Dear Friend
Today is a dear friend's birthday. Caz (www.candellecreations.com) is celebrating by going to the Festival of Quilts at Uttoxeter Race Course. If you haven't seen Caz' fabulous sewing and quilting skills you must nip over to her site to have a look.
I treated Caz to some yummy papers for her birthday and wanted to make something special for her.
Here is the card:
I started by colouring a card with worn lipstick distress ink. I then stamped a script stamp directly to the card stock using worn lipstick ink and edged it with walnut stain and black soot.
I edged a doily in walnut stain ink and stamped my most favourite quote in archival ink.
The dress form was cut in card stock and again in canvas. I coloured the canvas in antique linen distress stain then edged it using tea dye distress ink. I cut the dress part away and attached it to the card stock cutting.
I coloured some white seam binding using worn lipstick distress stain then tied it around the dress form.
I added some lace and ribbon and finished with a button and some craft pins.
Caz is a keen sewer and quilter so I wanted to make her something linked to her love. This is what I created:
This started out as a Tando printers tray. I painted this using Paper Artsy fresco finish paints and stamped a crackle background using paint.
I chose some gorgeous Prima papers and trimmed them to size and embossed some of them before gluing into the inserts.
That's when the fun started. I gathered lots of gorgeous embellishments - buttons, flowers, twine, cotton reels, lace, rulers and much more. I played around with them for ages before deciding exactly what I wanted and where.
I added tiny buttons to a cork vial and I added distress glitter to the top of a flower to give a bit of distressed sparkle.
I really enjoyed this project and put alot of love into it.... I hope Caz loves it to and is having an amazing birthday!!!
Happy Birthday Caz
xxx
I treated Caz to some yummy papers for her birthday and wanted to make something special for her.
Here is the card:
I started by colouring a card with worn lipstick distress ink. I then stamped a script stamp directly to the card stock using worn lipstick ink and edged it with walnut stain and black soot.
I edged a doily in walnut stain ink and stamped my most favourite quote in archival ink.
The dress form was cut in card stock and again in canvas. I coloured the canvas in antique linen distress stain then edged it using tea dye distress ink. I cut the dress part away and attached it to the card stock cutting.
I coloured some white seam binding using worn lipstick distress stain then tied it around the dress form.
I added some lace and ribbon and finished with a button and some craft pins.
Caz is a keen sewer and quilter so I wanted to make her something linked to her love. This is what I created:
This started out as a Tando printers tray. I painted this using Paper Artsy fresco finish paints and stamped a crackle background using paint.
I chose some gorgeous Prima papers and trimmed them to size and embossed some of them before gluing into the inserts.
That's when the fun started. I gathered lots of gorgeous embellishments - buttons, flowers, twine, cotton reels, lace, rulers and much more. I played around with them for ages before deciding exactly what I wanted and where.
I added tiny buttons to a cork vial and I added distress glitter to the top of a flower to give a bit of distressed sparkle.
I really enjoyed this project and put alot of love into it.... I hope Caz loves it to and is having an amazing birthday!!!
Happy Birthday Caz
xxx
Wednesday, 24 April 2013
Flowers, Flowers Everywhere!!
I recently purchased the new Jo Firth-Young Stamps from Paper Artsy. I love them so much that I can't stop 'playing' with them! I've been busy starting projects but thought I would share 1 card with you:
I started off by die-cutting a mini cabinet shape from card stock. I then blended peeled paint, wild honey and broken china distress inks over it before edging the card with walnut stain.
I stamped the flowers in archival ink and coloured them with worn lipstick, seedless preserves and peeled paint distress inks. I used a water brush to do this.
I stamped the butterfly onto card and also onto clearly for art. I coloured the card in and stapled the clearly for art to it. I then heated and shaped the wings of the butterfly.
I attached the panel to a card blank and doodled around it - this is my very first attempt at doodling!! I then stamped a greeting to finish.
Thanks for looking.....
Saturday, 20 April 2013
Hidden From View Workshop
Last week I was fortunate enough to go to a Hels Sheridan workshop at The Stamp Attic. The workshop was called 'Hidden From View. I had great fun using distress paints (NEED them), Distress Ink, stencils and all sorts of gorgeous stamps and products.
Here are my pics from the book that I made:
As you can see I had great fun!! And spent the day with some great friends!!
Thanks for looking....
Here are my pics from the book that I made:
As you can see I had great fun!! And spent the day with some great friends!!
Thanks for looking....
Subscribe to:
Posts (Atom)