It is that time again over at the Rebel Stampers site.
The Craft Stamper atc was based on the phrase stamp from the April edition. Here is my creation:
I covered an atc in Prima paper. The image was stamped in Archival ink.
Flowers and pins were added to the bottom right corner to finish.
The other theme for the month was 'ABC'. Here is my atc:
I covered an atc with gorgeous Stampin' Up papers that I have had for ages (they are long discontinued!). I then stamped ABC in the corners. Very simple, though hopefully, effective!
Thanks for looking.....
Wednesday, 14 May 2014
Monday, 12 May 2014
Rebel Stampers Tag Swap
The letter 'D' was the theme for April's tag swap. Here is my tag
I added 3 colours of distress paint onto my craft mat, spritzed them with water and swiped my tag through it. The tag was the dried and the same colours of distress ink added to the tag to deepen the colours.
Next I stamped the images in black Archival ink and dried with a heat gun to set the ink.
To finish I added a ruler and film ribbon and the letter D.
I hope you like it.
Thanks for looking....
I added 3 colours of distress paint onto my craft mat, spritzed them with water and swiped my tag through it. The tag was the dried and the same colours of distress ink added to the tag to deepen the colours.
Next I stamped the images in black Archival ink and dried with a heat gun to set the ink.
To finish I added a ruler and film ribbon and the letter D.
I hope you like it.
Thanks for looking....
Saturday, 10 May 2014
#3Up Paper Artsy Challenge
A few weeks ago I entered the opportunity to appear on the Paper Artsy blog using their new Hot Picks stamps. I was thrilled when I arrived home from work one day and saw an envelope with a set of stamps and instructions.
I spent all night stroking the stamps (I know.... we all do it though) and thinking of ideas for my creation for the blog. The next day I set to work and the ideas flowed. Here is my end creation
I won't tell you how I made it as all of those details are on the Paper Artsy blog. The project went live last week (3rd May) and I was delighted to see it!
Thanks to the folks at Paper Artsy for the great opportunity..... and thank you for your visit to my blog.
I spent all night stroking the stamps (I know.... we all do it though) and thinking of ideas for my creation for the blog. The next day I set to work and the ideas flowed. Here is my end creation
Thanks to the folks at Paper Artsy for the great opportunity..... and thank you for your visit to my blog.
Monday, 28 April 2014
Masterboard Mayhem - Inspired by Jo Firth Young
A few weeks ago Jo Firth Young showed us how to create a master board over at the Paper Artsy blog.
As soon as I saw this I couldn't wait to have a go at creating one of my own. The only problem was that once I started I couldn't stop.... and I ended up creating 3! Here are my creations:
For each of the master boards I tried slightly different stamps.
All of the master boards were coloured using water colour pencils.
Once created I couldn't bear to cut them up - once I had overcome this I used a section to create a matchbox to send a small gift in.
I thought the master board looked really nice when used - and I still have some left!
Hope you like my creations - and a massive thanks to Jo Firth Young for creating this new addiction for me!
As soon as I saw this I couldn't wait to have a go at creating one of my own. The only problem was that once I started I couldn't stop.... and I ended up creating 3! Here are my creations:
For each of the master boards I tried slightly different stamps.
All of the master boards were coloured using water colour pencils.
Once created I couldn't bear to cut them up - once I had overcome this I used a section to create a matchbox to send a small gift in.
I thought the master board looked really nice when used - and I still have some left!
Hope you like my creations - and a massive thanks to Jo Firth Young for creating this new addiction for me!
Sunday, 27 April 2014
Happy Birthday To A Dear Friend
Today is my dear friend, Caz' birthday.
I thought I would share the card that I made for her
Here, I used the gorgeous Santoro papers and stamps.
I covered a card blank with one of the papers.
Next, I cut a mat and used a distress tool around the edges. I then inked around the edges with walnut stain ink.
I added a paper doily.
I die cut a deco label and stamped the gorgeous 'Pursuit of Happiness' stamp. I coloured it using water colour pencils.
I added this to the centre of the card.
Next, I embellished using Prima crystal swirls, resin flowers, pearls, pins and a chipboard key (which I coloured using distress ink).
I hope that Caz has a fabulous birthday and is spoilt all day.
Thanks for looking.
I thought I would share the card that I made for her
Here, I used the gorgeous Santoro papers and stamps.
I covered a card blank with one of the papers.
Next, I cut a mat and used a distress tool around the edges. I then inked around the edges with walnut stain ink.
I added a paper doily.
I die cut a deco label and stamped the gorgeous 'Pursuit of Happiness' stamp. I coloured it using water colour pencils.
I added this to the centre of the card.
Next, I embellished using Prima crystal swirls, resin flowers, pearls, pins and a chipboard key (which I coloured using distress ink).
I hope that Caz has a fabulous birthday and is spoilt all day.
Thanks for looking.
Tuesday, 22 April 2014
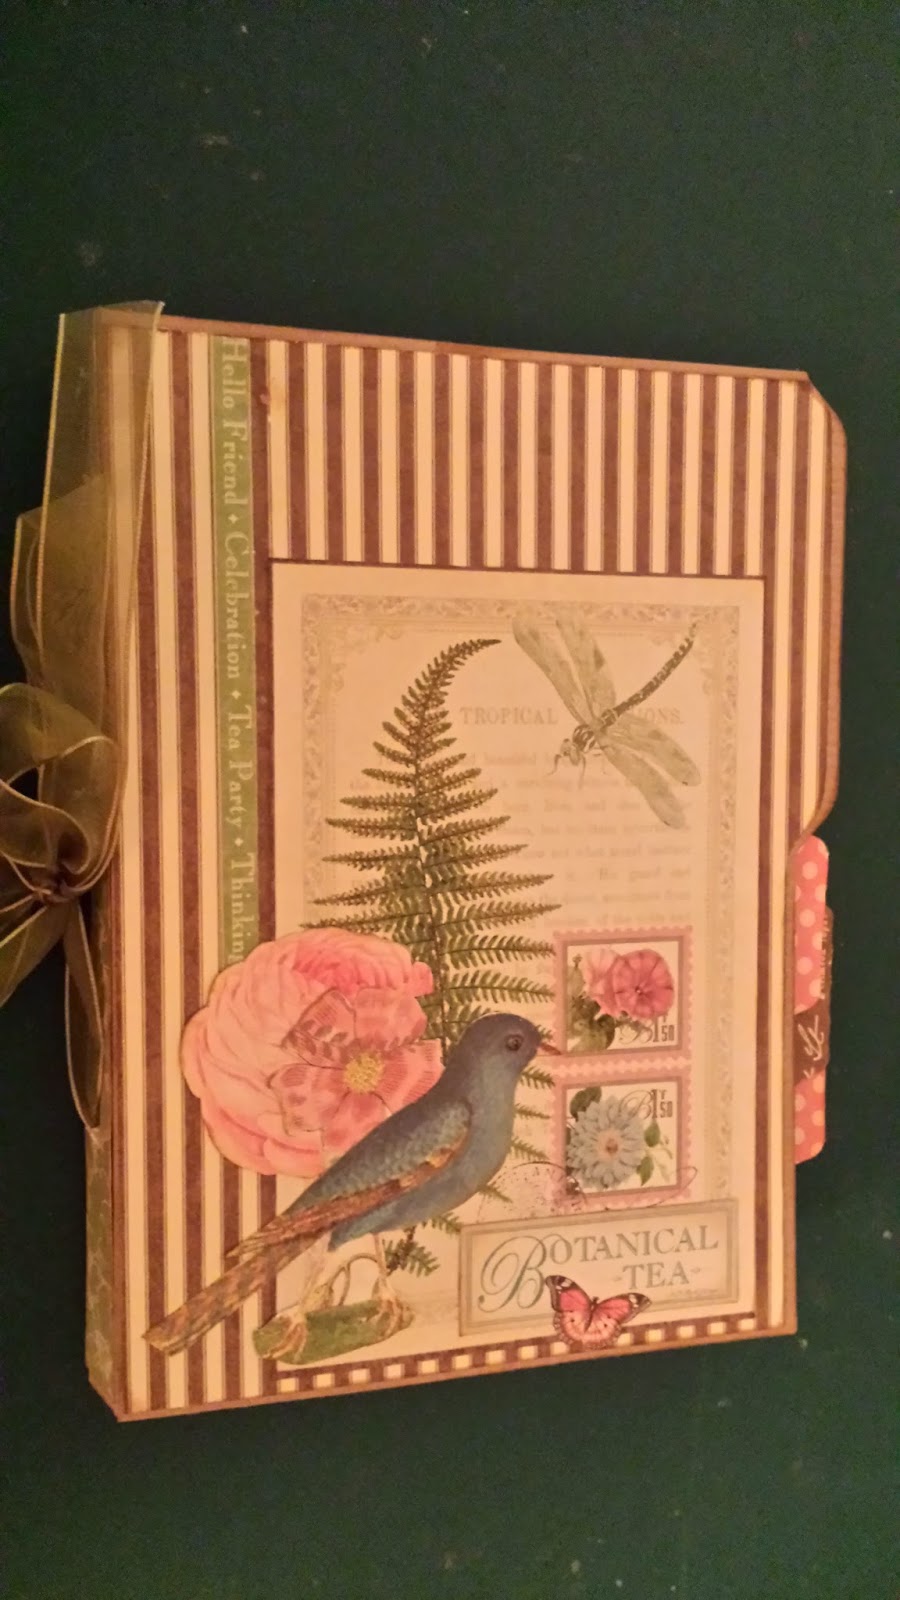
Graphic 45 Fun at The Stamp Attic
A couple of weeks ago I was lucky enough to go to a Graphic 45 workshop at the Stamp Attic. We had a fabulous day.
You can see details from the workshop here.
I won't show the whole of my project but here are a couple of pages from it
I really had great fun creating this journal - and the papers were just gorgeous..... I'm certainly looking forward to the next workshop!
Thanks for looking!
You can see details from the workshop here.
I won't show the whole of my project but here are a couple of pages from it
I really had great fun creating this journal - and the papers were just gorgeous..... I'm certainly looking forward to the next workshop!
Thanks for looking!
Sunday, 20 April 2014
Happy Easter
I would like to wish you all a very Happy and Peaceful Easter.
I thought I would share the cards that I made for my loved ones.
I embossed chocolate card using a Stampin' Up lattice folder.
I die cut a border, swirl and 2 labels in pink card and edged them using walnut stain distress ink
The Bunny was die cut in chocolate
The greeting was stamped in Coffee Archival
This is the card that I made for Dan
I covered a card blank using Tim Holtz seasonal papers.
I embossed then cut green paper (this was the other side of one of the seasonal papers)
I die cut a deco frame onto water colour paper. Here, I stamped the Tom Holtz rabbit and coloured him with distress markers.
The label was die cut and greeting stamped.
Everything was edged in walnut stain (as usual!).
I added green seam binding to finish.
I was really pleased with the finished results here. I'm sure Dan will love it!
Thanks for looking.....
I thought I would share the cards that I made for my loved ones.
I embossed chocolate card using a Stampin' Up lattice folder.
I die cut a border, swirl and 2 labels in pink card and edged them using walnut stain distress ink
The Bunny was die cut in chocolate
The greeting was stamped in Coffee Archival
This is the card that I made for Dan
I covered a card blank using Tim Holtz seasonal papers.
I embossed then cut green paper (this was the other side of one of the seasonal papers)
I die cut a deco frame onto water colour paper. Here, I stamped the Tom Holtz rabbit and coloured him with distress markers.
The label was die cut and greeting stamped.
Everything was edged in walnut stain (as usual!).
I added green seam binding to finish.
I was really pleased with the finished results here. I'm sure Dan will love it!
Thanks for looking.....
Subscribe to:
Posts (Atom)