Saturday 27 April 2013

Happy Birthday Dear Friend

Today is a dear friend's birthday.  Caz (www.candellecreations.com) is celebrating by going to the Festival of Quilts at Uttoxeter Race Course.  If you haven't seen Caz' fabulous sewing and quilting skills you must nip over to her site to have a look.

I treated Caz to some yummy papers for her birthday and wanted to make something special for her.

Here is the card:

I started by colouring a card with worn lipstick distress ink.  I then stamped a script stamp directly to the card stock using worn lipstick ink and edged it with walnut stain and black soot.

I edged a doily in walnut stain ink and stamped my most favourite quote in archival ink.

The dress form was cut in card stock and again in canvas.  I coloured the canvas in antique linen distress stain then edged it using tea dye distress ink.  I cut the dress part away and attached it to the card stock cutting. 

I coloured some white seam binding using worn lipstick distress stain then tied it around the dress form.

I added some lace and ribbon and finished with a button and some craft pins.

Caz is a keen sewer and quilter so I wanted to make her something linked to her love.  This is what I created:
This started out as a Tando printers tray.  I painted this using Paper Artsy fresco finish paints and  stamped a crackle background using paint.

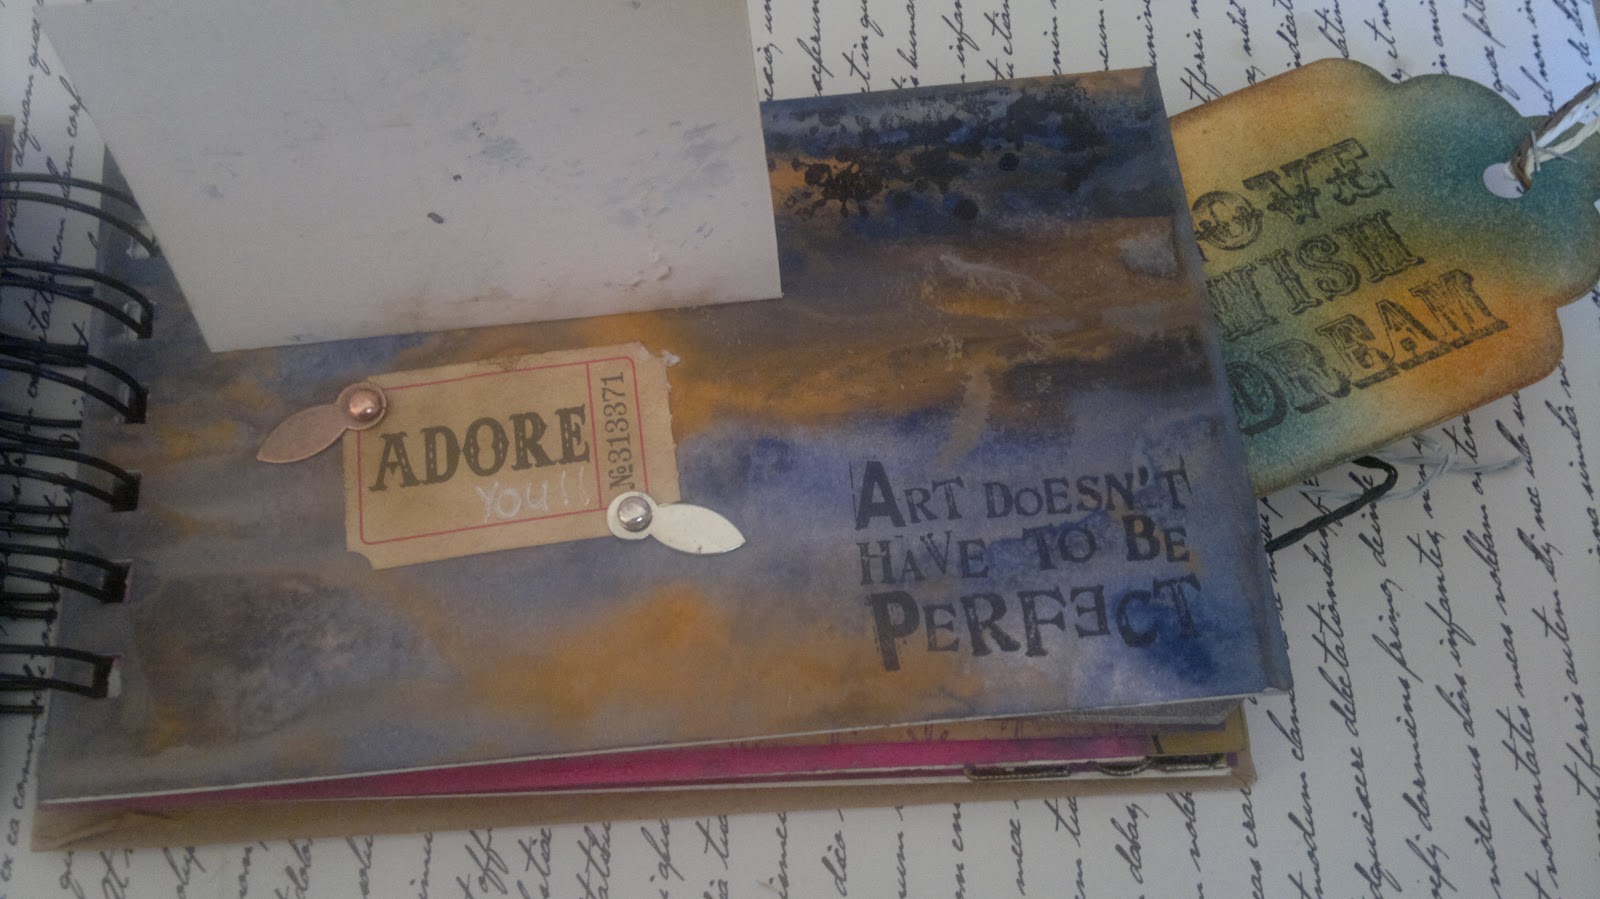
I chose some gorgeous Prima papers and trimmed them to size and embossed some of them before gluing into the inserts.

That's when the fun started.  I gathered lots of gorgeous embellishments - buttons, flowers, twine, cotton reels, lace, rulers and much more.  I played around with them for ages before deciding exactly what I wanted and where. 

I added tiny buttons to a cork vial and I added distress glitter to the top of a flower to give a bit of distressed sparkle.

I really enjoyed this project and put alot of love into it....  I hope Caz loves it to and is having an amazing birthday!!!

Happy Birthday Caz
xxx

Wednesday 24 April 2013

Flowers, Flowers Everywhere!!

I recently purchased the new Jo Firth-Young Stamps from Paper Artsy. I love them so much that I can't stop 'playing' with them!  I've been busy starting projects but thought I would share 1 card with you:

 
I started off by die-cutting a mini cabinet shape from card stock.  I then blended peeled paint, wild honey and broken china distress inks over it before edging the card with walnut stain.
 
I stamped the flowers in archival ink and coloured them with worn lipstick, seedless preserves and peeled paint distress inks.  I used a water brush to do this.
 
 
I stamped the butterfly onto card and also onto clearly for art.  I coloured the card in and stapled the clearly for art to it.  I then heated and shaped the wings of the butterfly.
 
I attached the panel to a card blank and doodled around it - this is my very first attempt at doodling!! I then stamped a greeting to finish.
 
Thanks for looking.....


Saturday 20 April 2013

Hidden From View Workshop

Last week I was fortunate enough to go to a Hels Sheridan workshop at The Stamp Attic.  The workshop was called 'Hidden From View.  I had great fun using distress paints (NEED them), Distress Ink, stencils and all sorts of gorgeous stamps and products.

Here are my pics from the book that I made:


As you can see I had great fun!!  And spent the day with some great friends!!

Thanks for looking....

Sunday 7 April 2013

Lazy Sunday Crafting!!

I've been trying to get lots of rest this weekend in readiness for a workshop with the AMAZING Hels Sheridan at the Stamp Attic next weekend.

Today I have managed to find a bot of energy to have a play!!

Here are my results:

For my first card I created a coloured background using the wrinkle free distress method (taught by Tim Holtz).  To create this background I used distress stains, with a smidge of metallic stain in there too.

Once I was happy with my background I dried and mounted it onto black card.

I stamped the Papillon moths and butterflies directly onto the background using black archival. 

I then stamped the same image onto Clearly For Art, heat set it and cut them out individually.  I stapled them to the main image on the background and then one by one heat them in order to shape the wings. 

Once happy I attached the image to the main card.

To finish I stamped a quote in black archival ink.  I love this quote and use it alot!!


For my second card I used distress pens directly onto the stamp.
 
Once finished I 'huffed' onto the stamp to reactivate the ink then stamped directly onto my cardstock.
 
I added a quote using the same technique.
 
To finish I added black ink around the card to create a rough frame (I'm not very delicate!!!)


I started my final card using the same technique as the first.  I then stamped a distressed dots background in walnut stain ink.

I stamped various butterflies in co-ordinating inks then punched them out.  I glued them randomly to the dots background.

I mounted this onto black cardstock then onto my card.

I finished my stamping a quote and adding 2 more small butterflies.

I really enjoyed making these - I love using the wrinkle free distress technique - no two prints will ever  be the same!!

Thanks for looking.....

Saturday 6 April 2013

Rebel Stampers ATC Swap

It's that time already!!  Here are the swaps that I made for March:

 
My first atc is based on the Craft Stamper free stamp for March. 
 
I coloured an atc using broken china distress ink and stamped the world stamp from Papermania in walnut stain. 
 
I stamped the  wings from Craftstamper and the French man from the Paris memoirs set in walnut stain distress ink, cut them out and fixed them to the atc.
 
I finished by using a chit chat word. 


The second atc was based on 'texture'. 

I covered an atc in paper from my left over stash.

I stencilled texture paste into the corner and also through a Studio 490 flower stencil.

While this dried I stamped a flower in Island Indigo ink and punched it out. 

I stamped, coloured and cut a flower from one of my Studio 490 sets. 

I attached this to the flower and added a resin rose to the centre before attaching the whole flower to the textured background.

Hope you like my results.

Thanks for looking.....

Wednesday 3 April 2013

Tim Holtz 12 Tags of 2013 - April

We are a quarter way through the year already!!

I haven't had chance to create Tim's March tag yet but as soon as I saw the tag for April I had to drop everything and give it a go.  Yet again, I was faced with the usual problems of not having exactly the same products that Tim uses, but I had a look at the products in my stash and gave it a go.

Here is my creation:

You can see Tim's amazing tag and how he created it here

Thanks for looking....  I might disappear off and create another!!

Monday 1 April 2013

Sent With Love

Recently a relative on Dan's side of the family wrote to me to say that she had seen the cards that I make and would love for me to make some for her.  Well - I certainly don't need to be asked twice!!  I got to work and made a gift set of 10 cards (2 each of 5 designs).  Here are my creations:


I covered a card blank using sewing pattern paper.  I die cut the sewing room die in canvas, coloured it using antique linen stain and edged it using walnut stain.  The ruler is ribbon that I bought at the NEC show last year.  I finished by using an antique button, buttons from my stash and some decorative pins.


For this card I stamped a wood grain stamp onto a card blank.  I brayed ink onto glossy card then tore around the edge.  I stamped a Hero Arts tree stamp onto this using archival ink.  The leaf was die cut onto kraft glassine.  To finish, I attached a flower brad to the top of the stamped image.


For the 3rd design I used the amazing Heirloom set that Wendy Vecchi has recently released. 
 
I coloured a square in distress ink and stamped the large background stamp in broken china ink.  The flower was stamped, cut and coloured using distress markers. 
 
I finished by stamping a quote from the set.
 
I really am totally in LOVE with this stamp set!!


Talking of love, how handsome does this Time Traveller look??

I covered a card blank  using vintage paper.  The Time Traveller was stamped in archival ink and coloured using distress markers. 

I die cut some cogs to finish.

 
And finally is my little french man from the Paris memoir set. 
 
I stamped a background stamp onto a card blank.
 
I used a post card and stamped a map of the world in walnut stain ink.  The Eiffel Tower was stamped in archival.  The French man was stamped onto separate card and cut out.
 
As you can see these kept me busy for a while.  I haven't spoken to Annabel yet, but I am hoping that she loved them!!
 
Thanks for looking.